
How to apply a Top-up to a subscription
Summary
This article provides instructions for a user to locate Top-ups in Connect, apply a Top-up to a subscription, and how to use the “Add Data” card. A video tutorial is included for applying a Top-up from the Dashboard, and instructions are given for canceling a Top-up for all projects.
A top-up is a common add-on that allows you to add credit to you mobile subscription so that they can make calls, text or access the internet in additional quantities beyond what is defined in a plan. Top-ups are defined with and specific to a service provider.
How it Works
You can self-serve to upgrade their plan or select from a choice of data top-ups at any time. Simply open your Connect account, or reach out to customer service for assistance.
➕ Top-ups
Once you have chosen your preferred top-up under “My Plans”, it’s activated immediately and will be accessible for the remainder of the subscription period.
🪫 Usage alerts
As your plan approaches its data limit, you will receive automatic email alerts, with the ability to purchase a monthly top-up or upgrade to a higher-tier plan.
These alerts will be triggered at 70%, 90%, and 100% of data consumption.
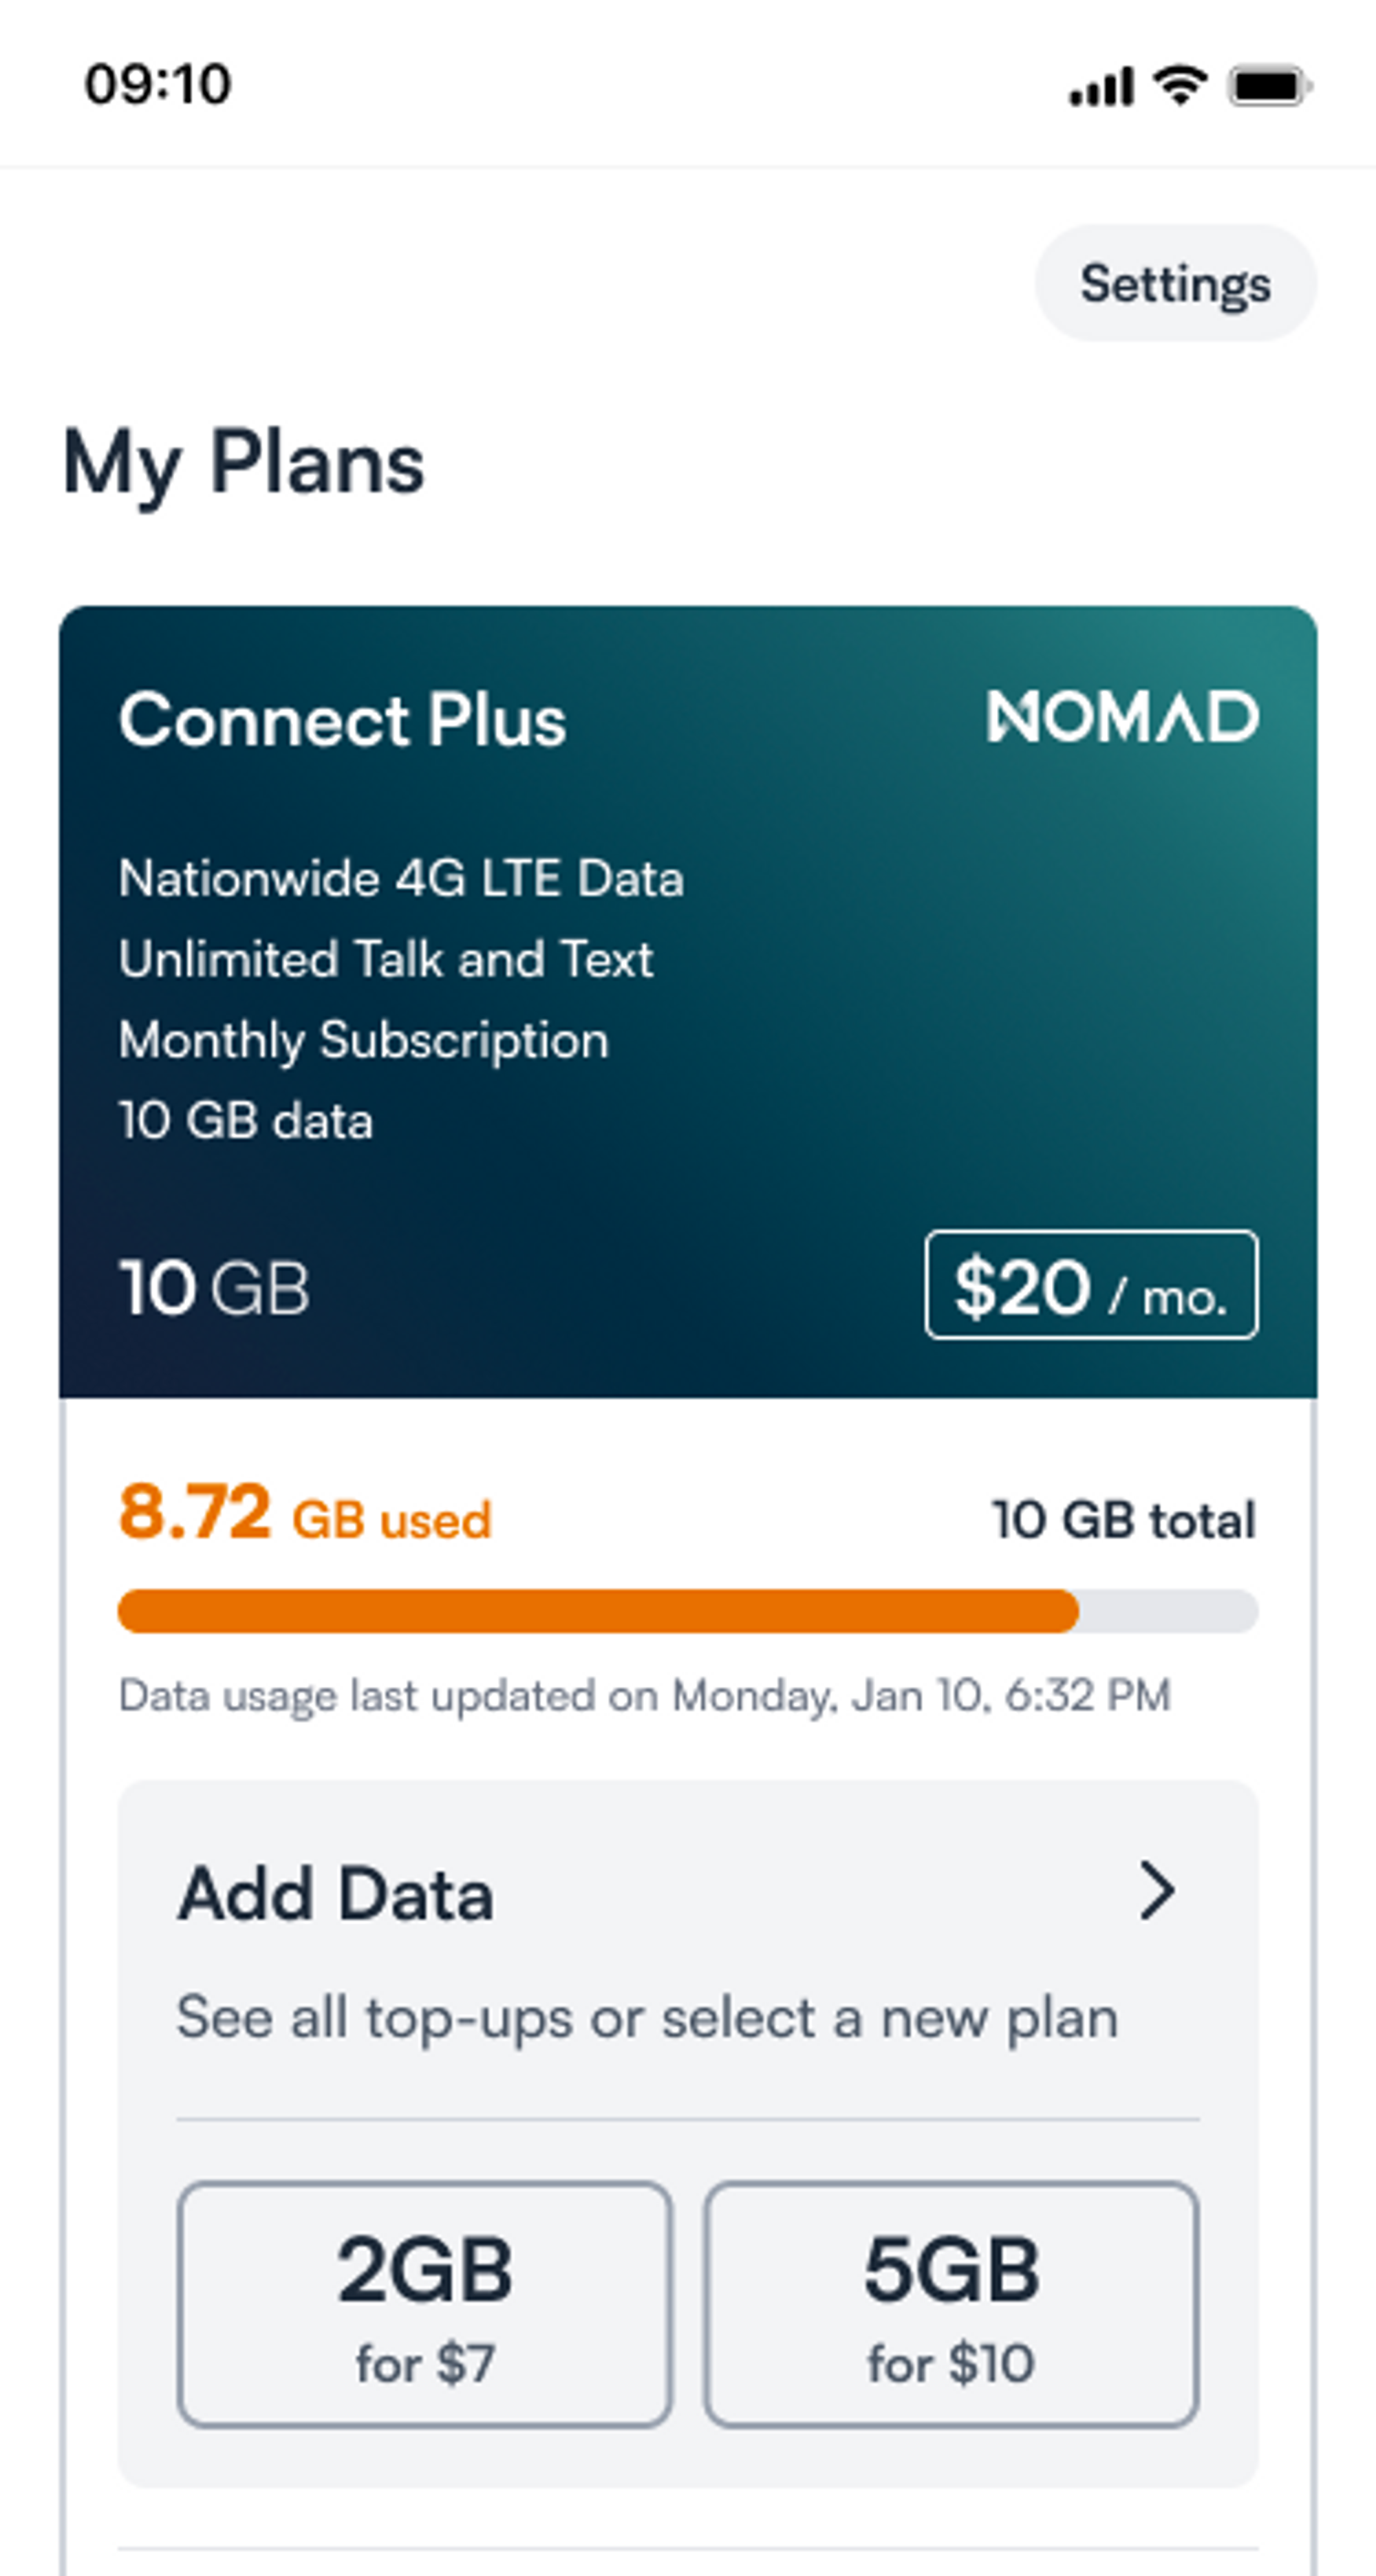
You can easily view your data usage in Connect under “My Plans” at any time.
How to add data in Connect
There are three places to select Top-ups in Connect:
Subscriptions overview screen (/subscriptions) if the user has ≥70% usage.
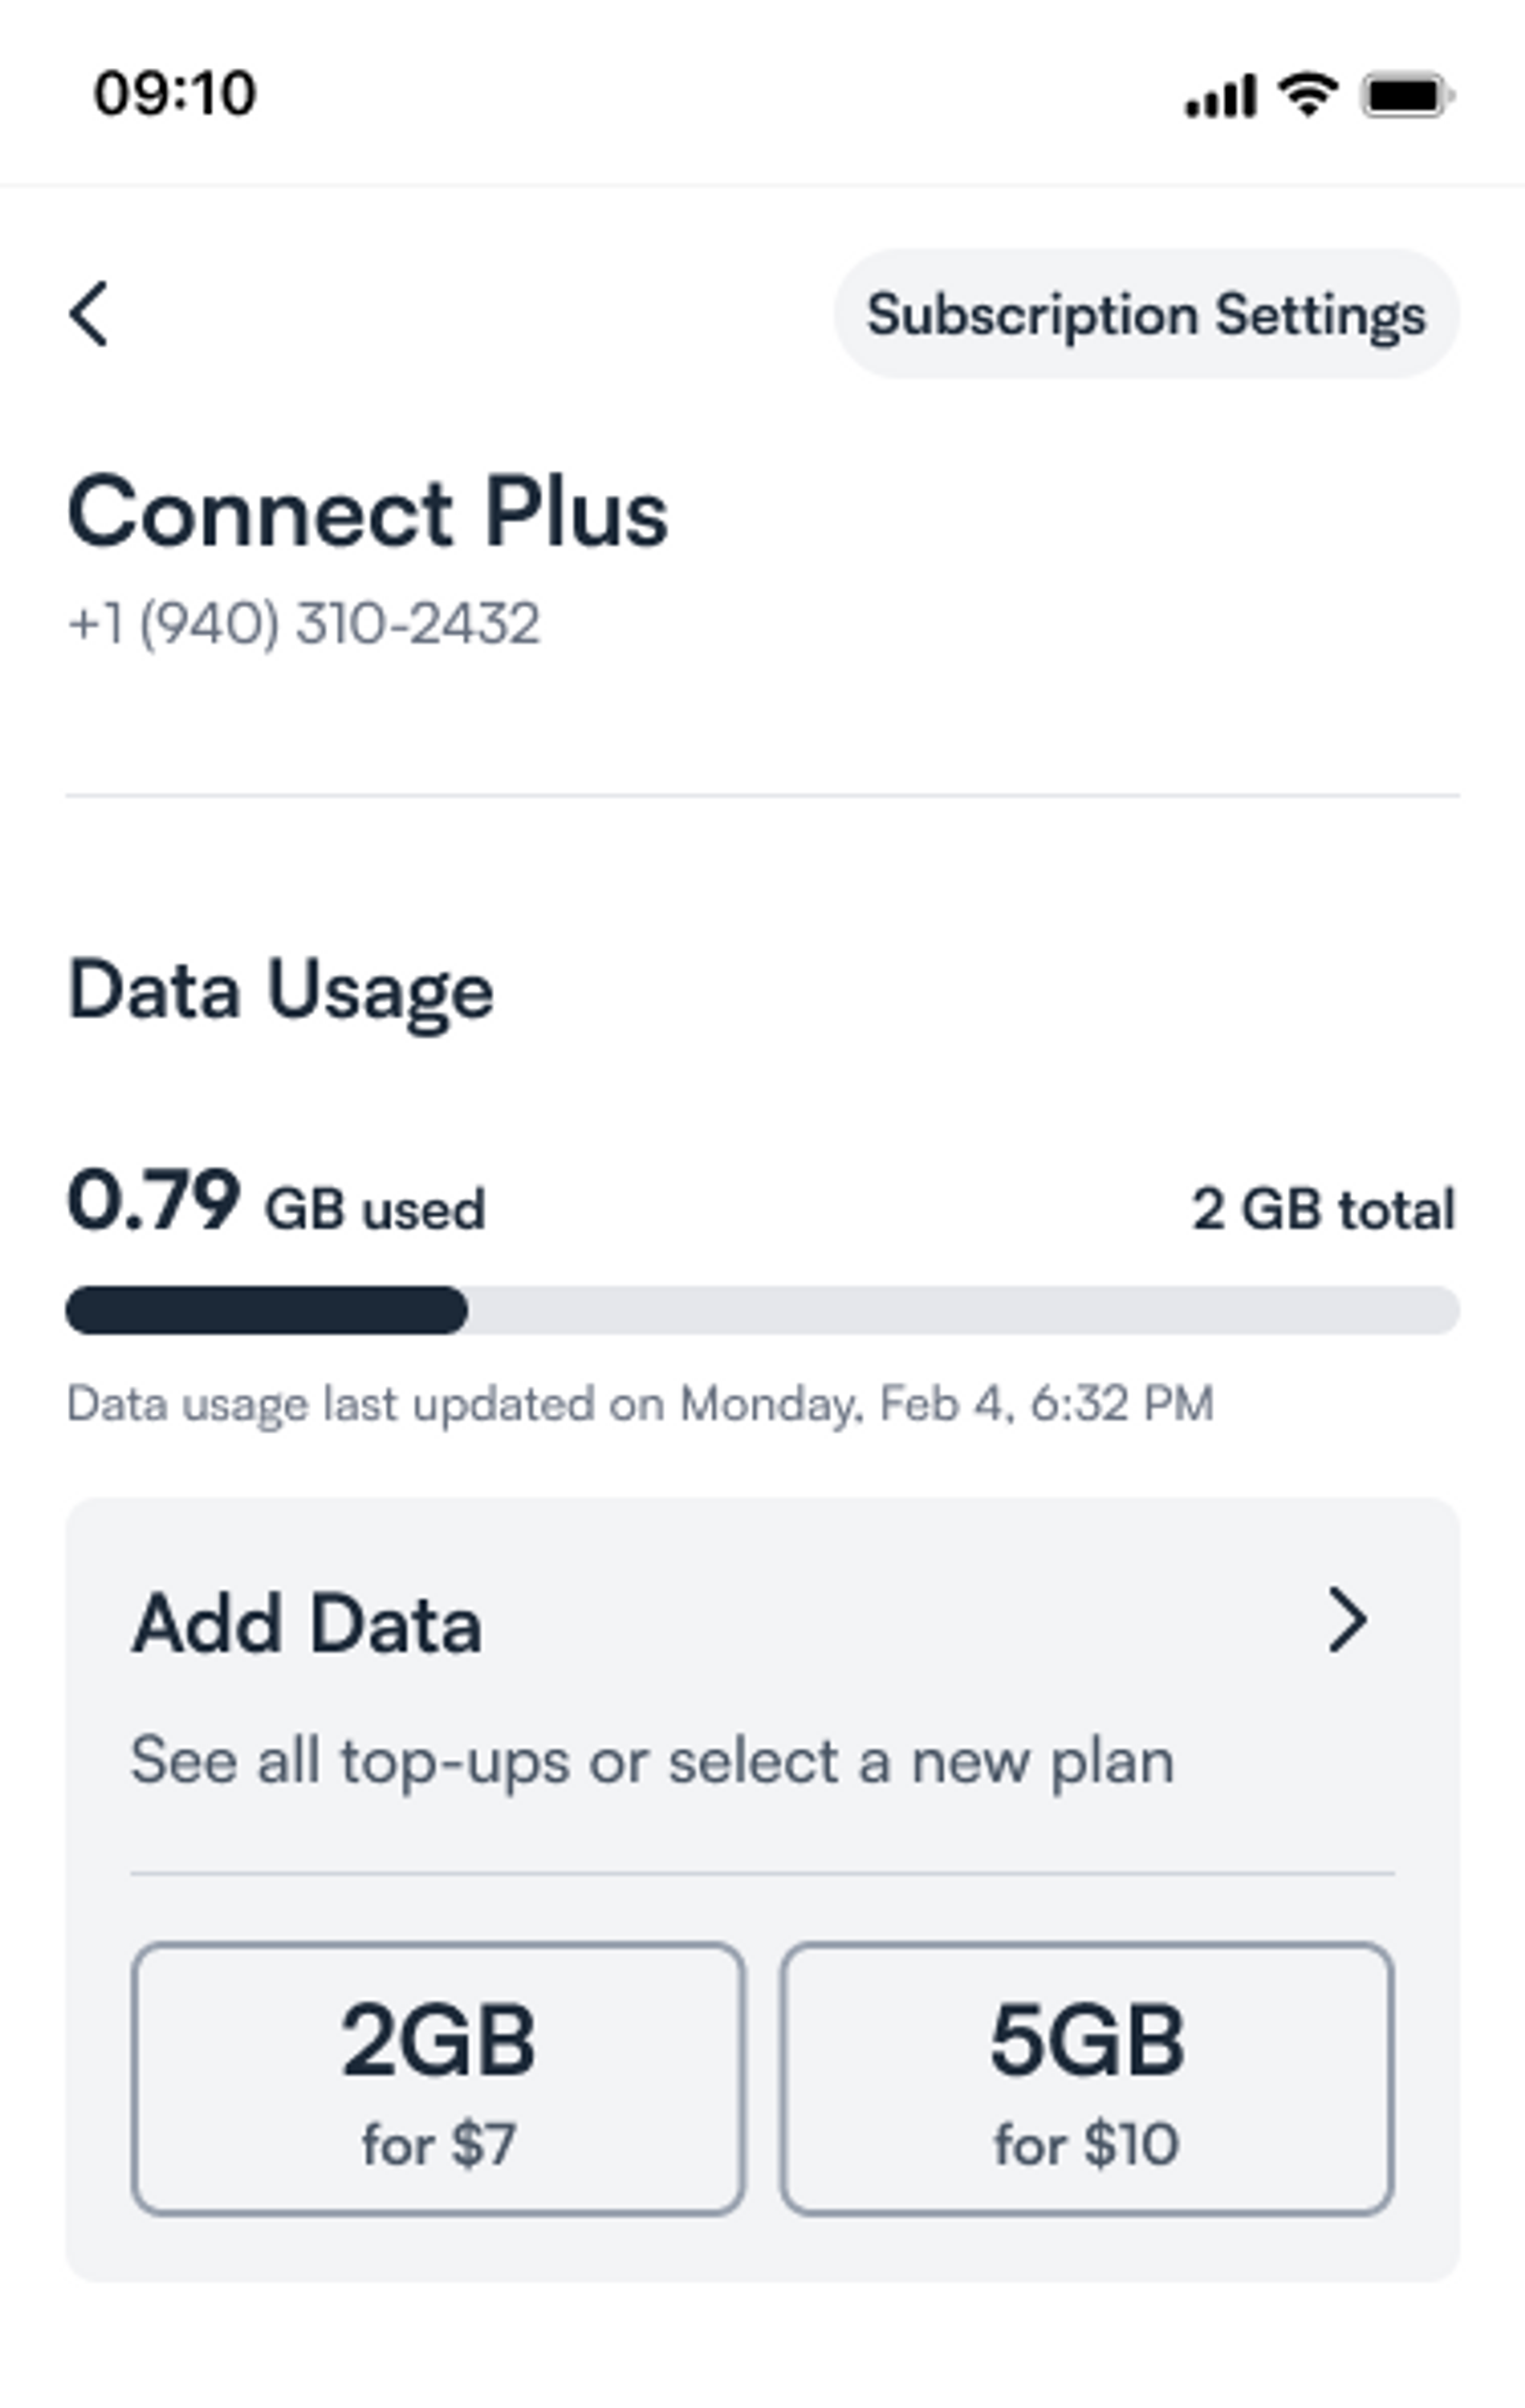
Subscription details screen (/subscriptions/sub[######])
This is accessed from clicking anywhere on the subscription card on the overview screen (/subscriptions)
Plan Change screen as the tab to the left (/plan-change)
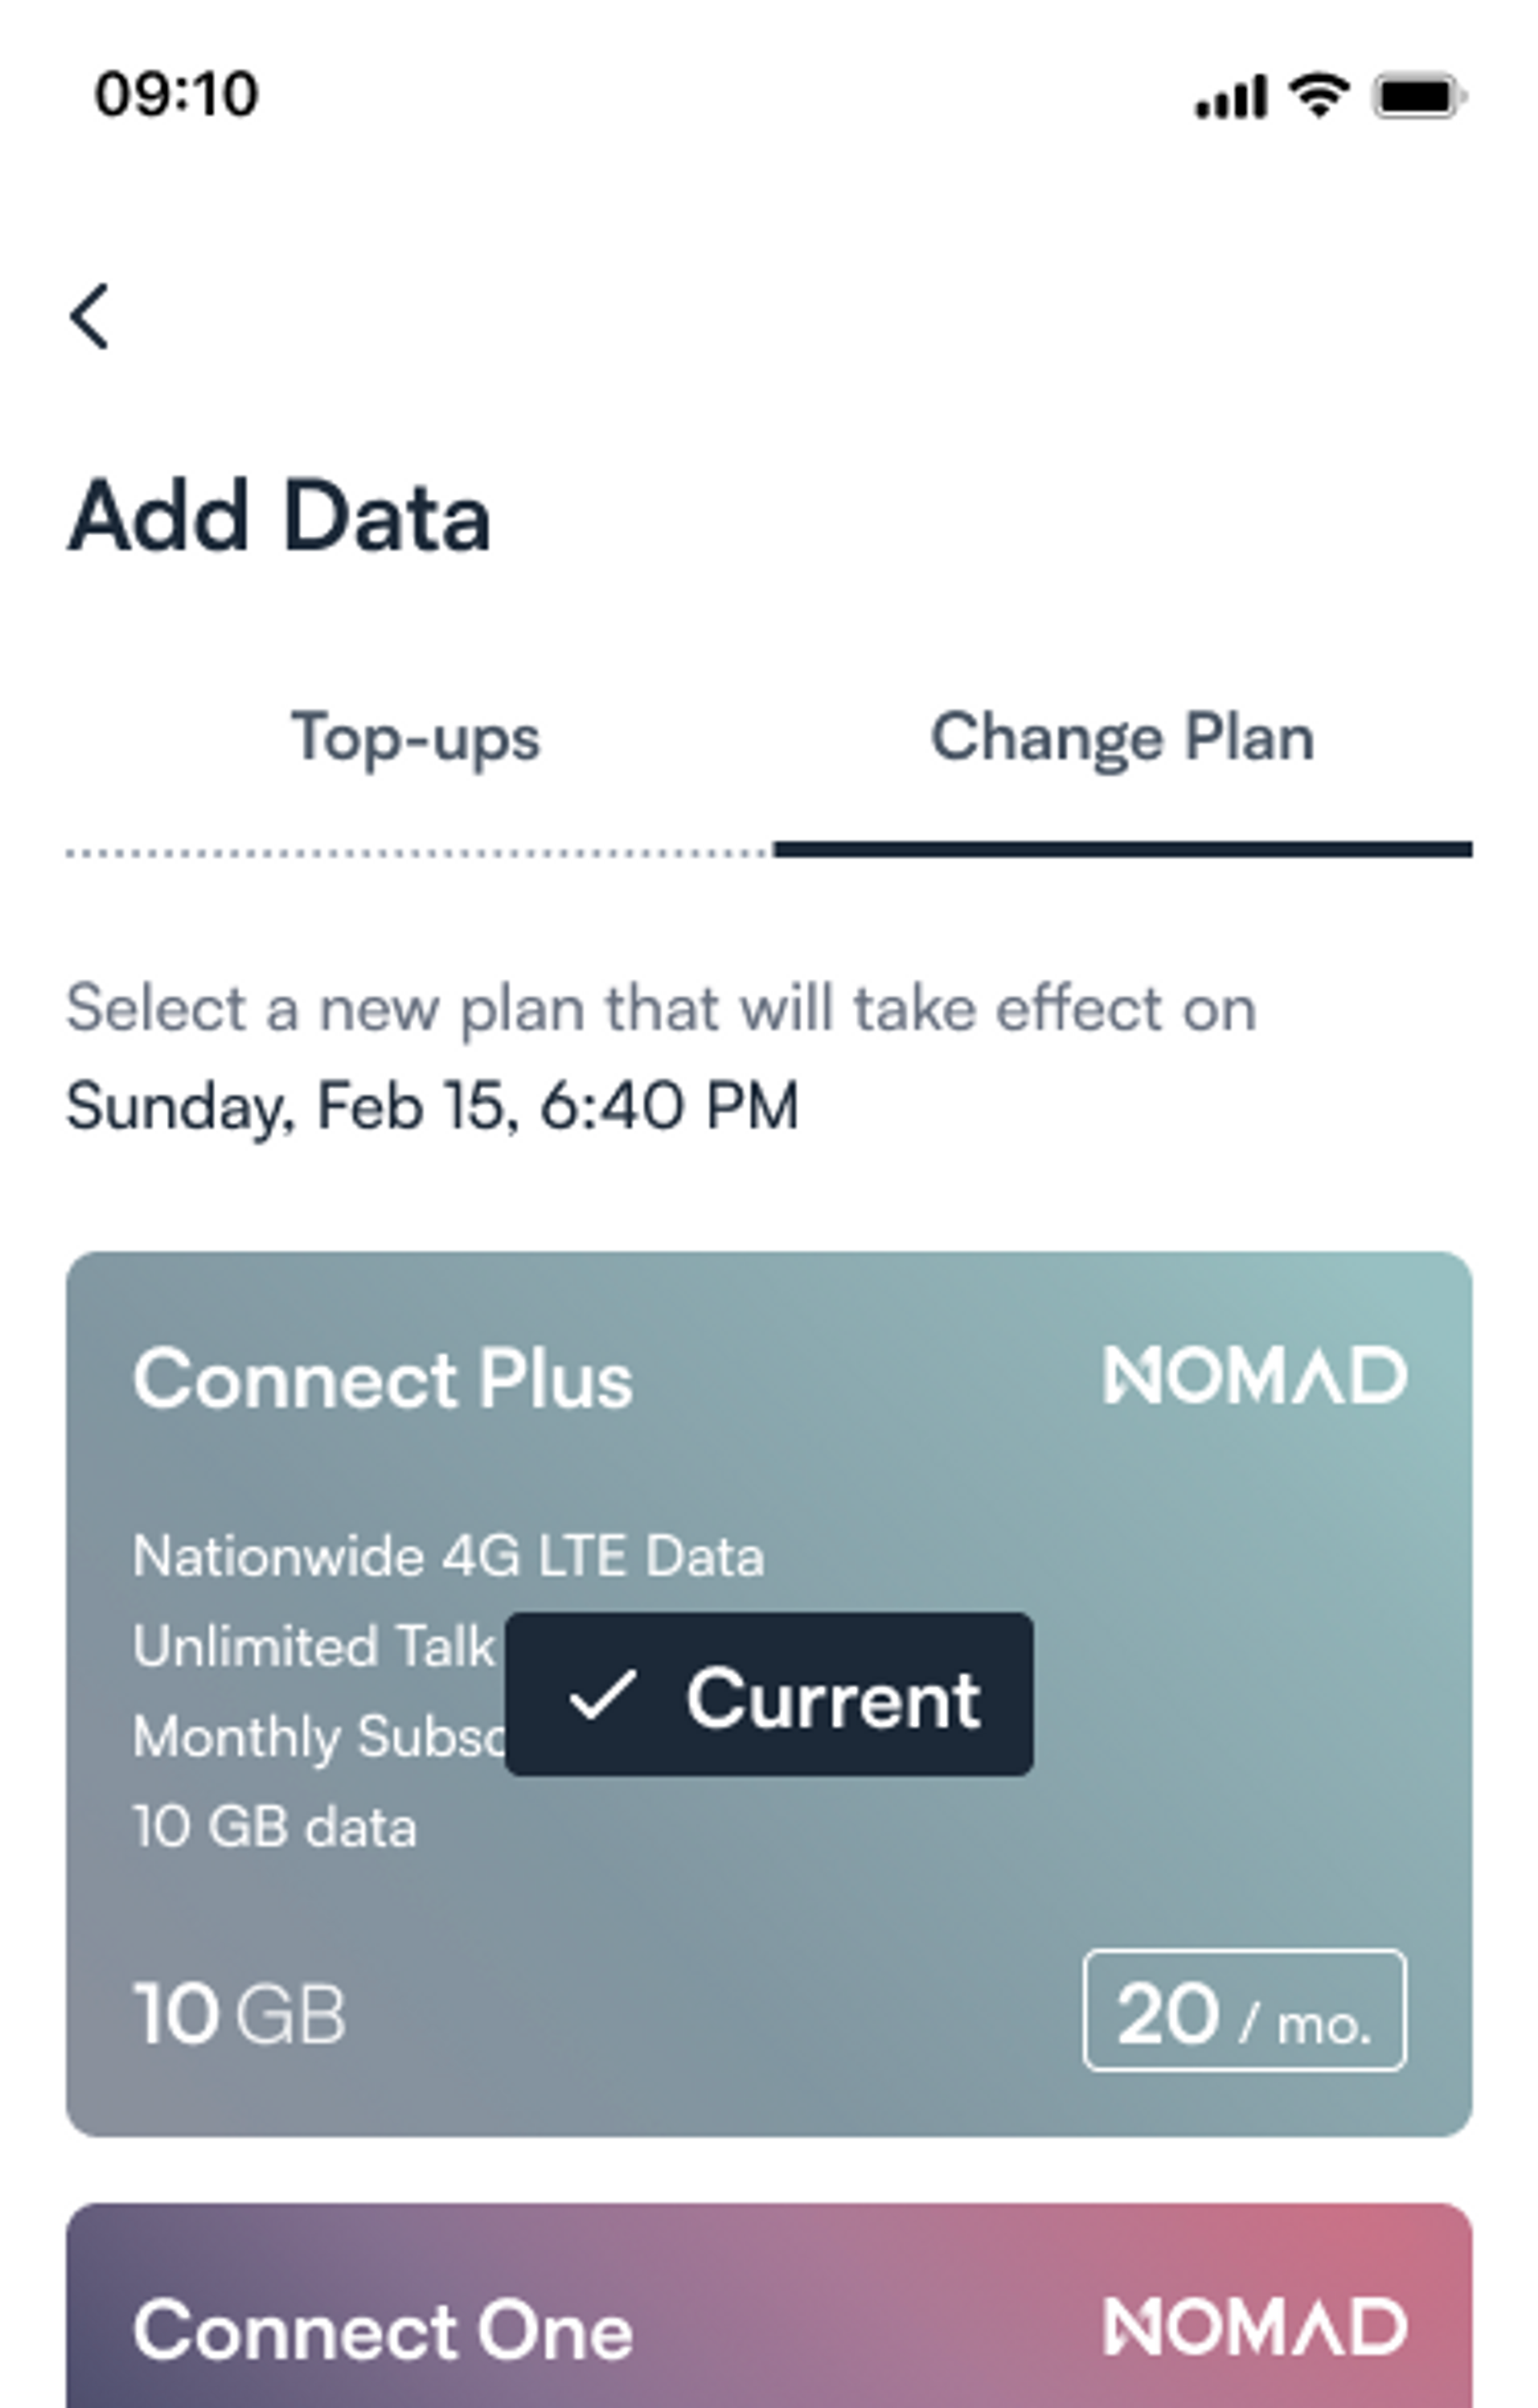
Clicking anywhere else on the card takes you to the Add Data screen. Here there are two tabs: one for Top-ups and the other for Plan Changes (if applicable).


Canceling a top-up
Please reach out to customer service, who will be happy to assist with manually canceling the top-up.
