Connect Sessions and Connect Link
Welcome to our guide on Connect Sessions and Connect Link! This article explores how these features can enhance your app or website by providing seamless user authentication and access to Connect functionalities. Whether you're a developer looking to integrate these features or a business owner wanting to understand their benefits, we've got you covered!
What is Connect Sessions?
The Connect Sessions API allows you to easily integrate Connect into your app or website with just a few lines of code. Creating a new Connect Session enables you to seamlessly redirect users who are logged into Connect through your app. This means they will be automatically authenticated and directed to a specific flow or feature, enhancing their overall experience. It's important to note that using Connect Sessions requires customers to have a backend service and the ability to authenticate users. For more detailed information, please review the Connect Sessions API documentation. With Connect Sessions, you can choose which parts of Connect you want to surface. By creating Connect Sessions with only the intents you wish to use, you can provide your users access to those specific Connect features, ensuring a streamlined experience.
What if You Can't Authenticate a User?
In cases where you can't authenticate a user yourself, unauthenticated Connect Sessions come into play. These special sessions allow Connect to prompt the end user to log in by providing a verification code sent to their email address. While we do support these unauthenticated Connect Sessions, they still require you, as the direct Gigs customer, to have a server on which they can be created.
Introducing Connect Link
But what if you don't have a server at all? Wouldn't it be great if all Gigs customers could enjoy the benefits of Connect Sessions? Now they can, thanks to Connect Link! Connect Link is a new feature that simplifies the process. Currently, the only intent available in the first iteration is "Create New Subscription." With Connect Link, you can leverage the benefits of Connect Sessions with minimal to no coding required. It's a publicly accessible link that redirects your users, allowing them to sign in. After signing in, Connect Link creates the Connect Session for you.
Creating a Connect Link
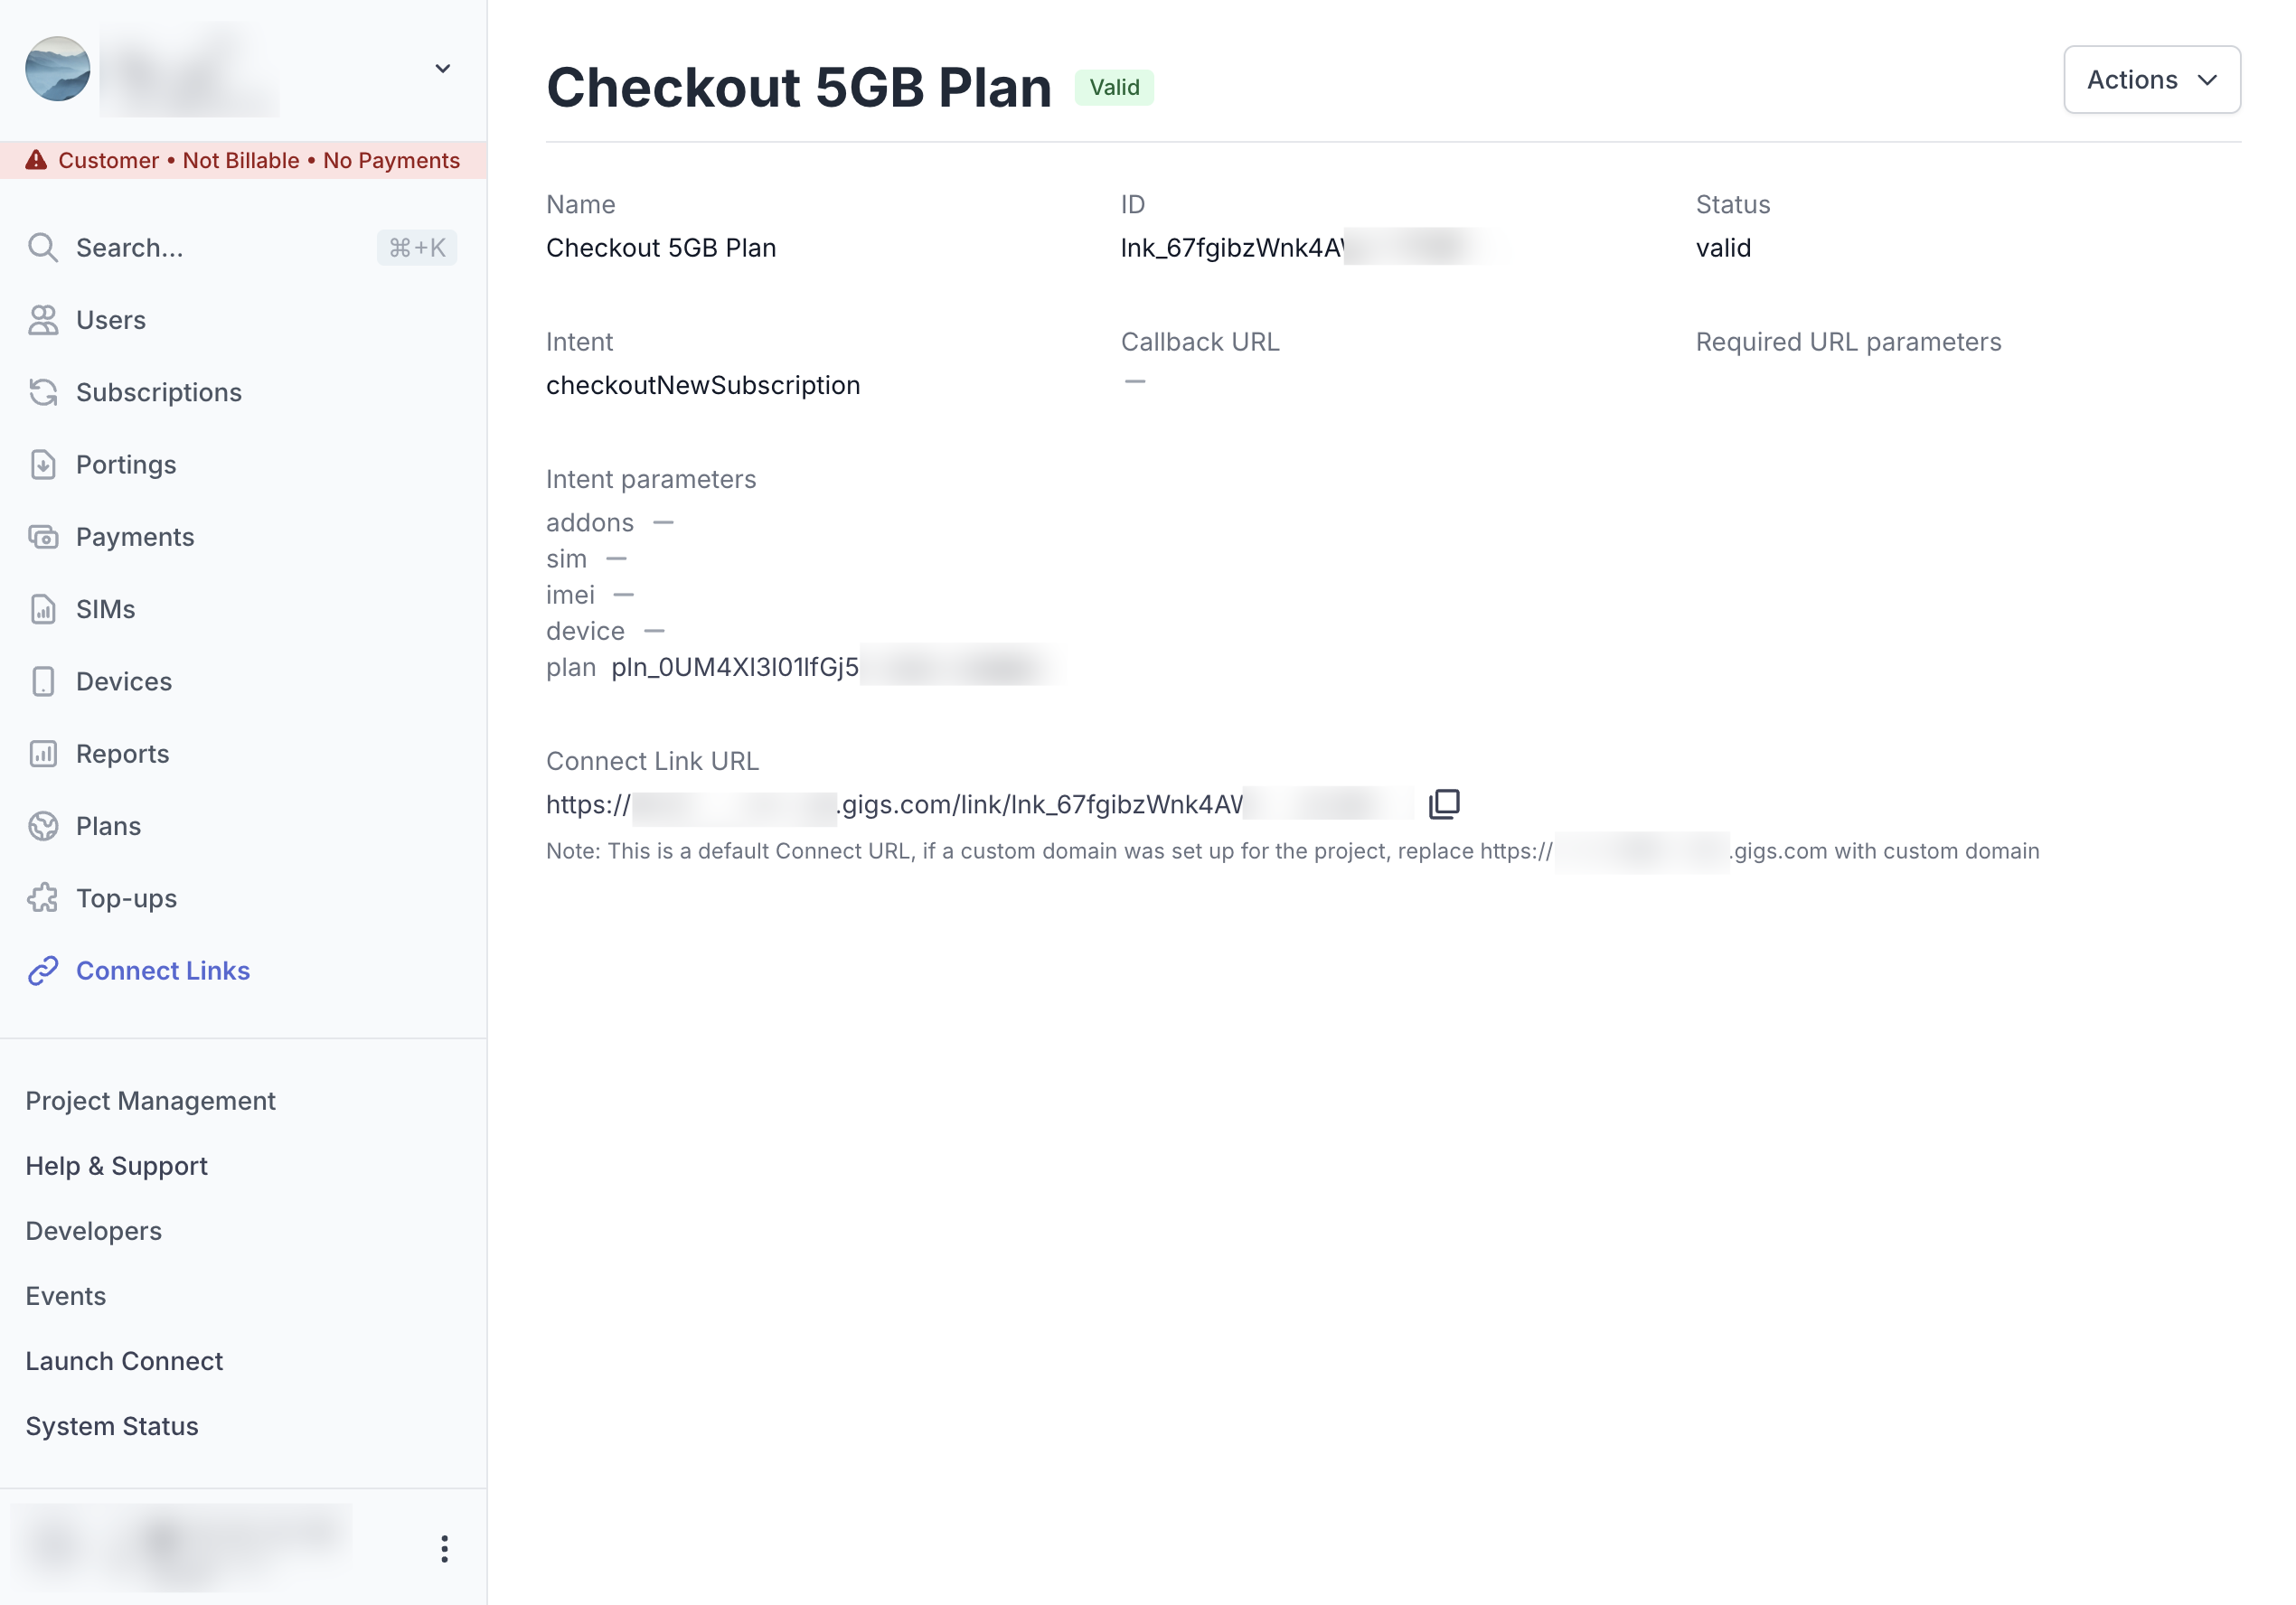
As a provider, you can create a link in the Dashboard. You can specify all the features supported by Connect Sessions, including where to redirect users after they complete the flow and any optional intent properties, such as a pre-selected voucher code or a plan. A generated link would look something like this:
https://example-mobile.gigs.com/link/lnk_abc
What Happens When a User Clicks the Link?
When a user clicks on the Link, the user will need to log in, either through a social login or a magic email login. Connect Link creates a Connect Session, which will then function as a regular Connect Session. The next time the user clicks on the Link, Connect Link will remember that the user has already logged in and will ask them to continue with the same account. The user can skip the login, and Connect Link will proceed to create the Connect Session, redirecting the user into Connect.
Implementing a Link
A link is a simple URL, and you can do a lot with it! Here are some ideas:
Add the link to your website.
Integrate the link into your native app.
Use a URL shortener for branded URLs and analytical tracking.
Send a link via chat or email.
Embed a link in a QR code.
Redirect to the link on the server.
Disabling a Link
If you no longer want to allow access to a specific Link, you can simply delete it, and the intent can no longer be created.
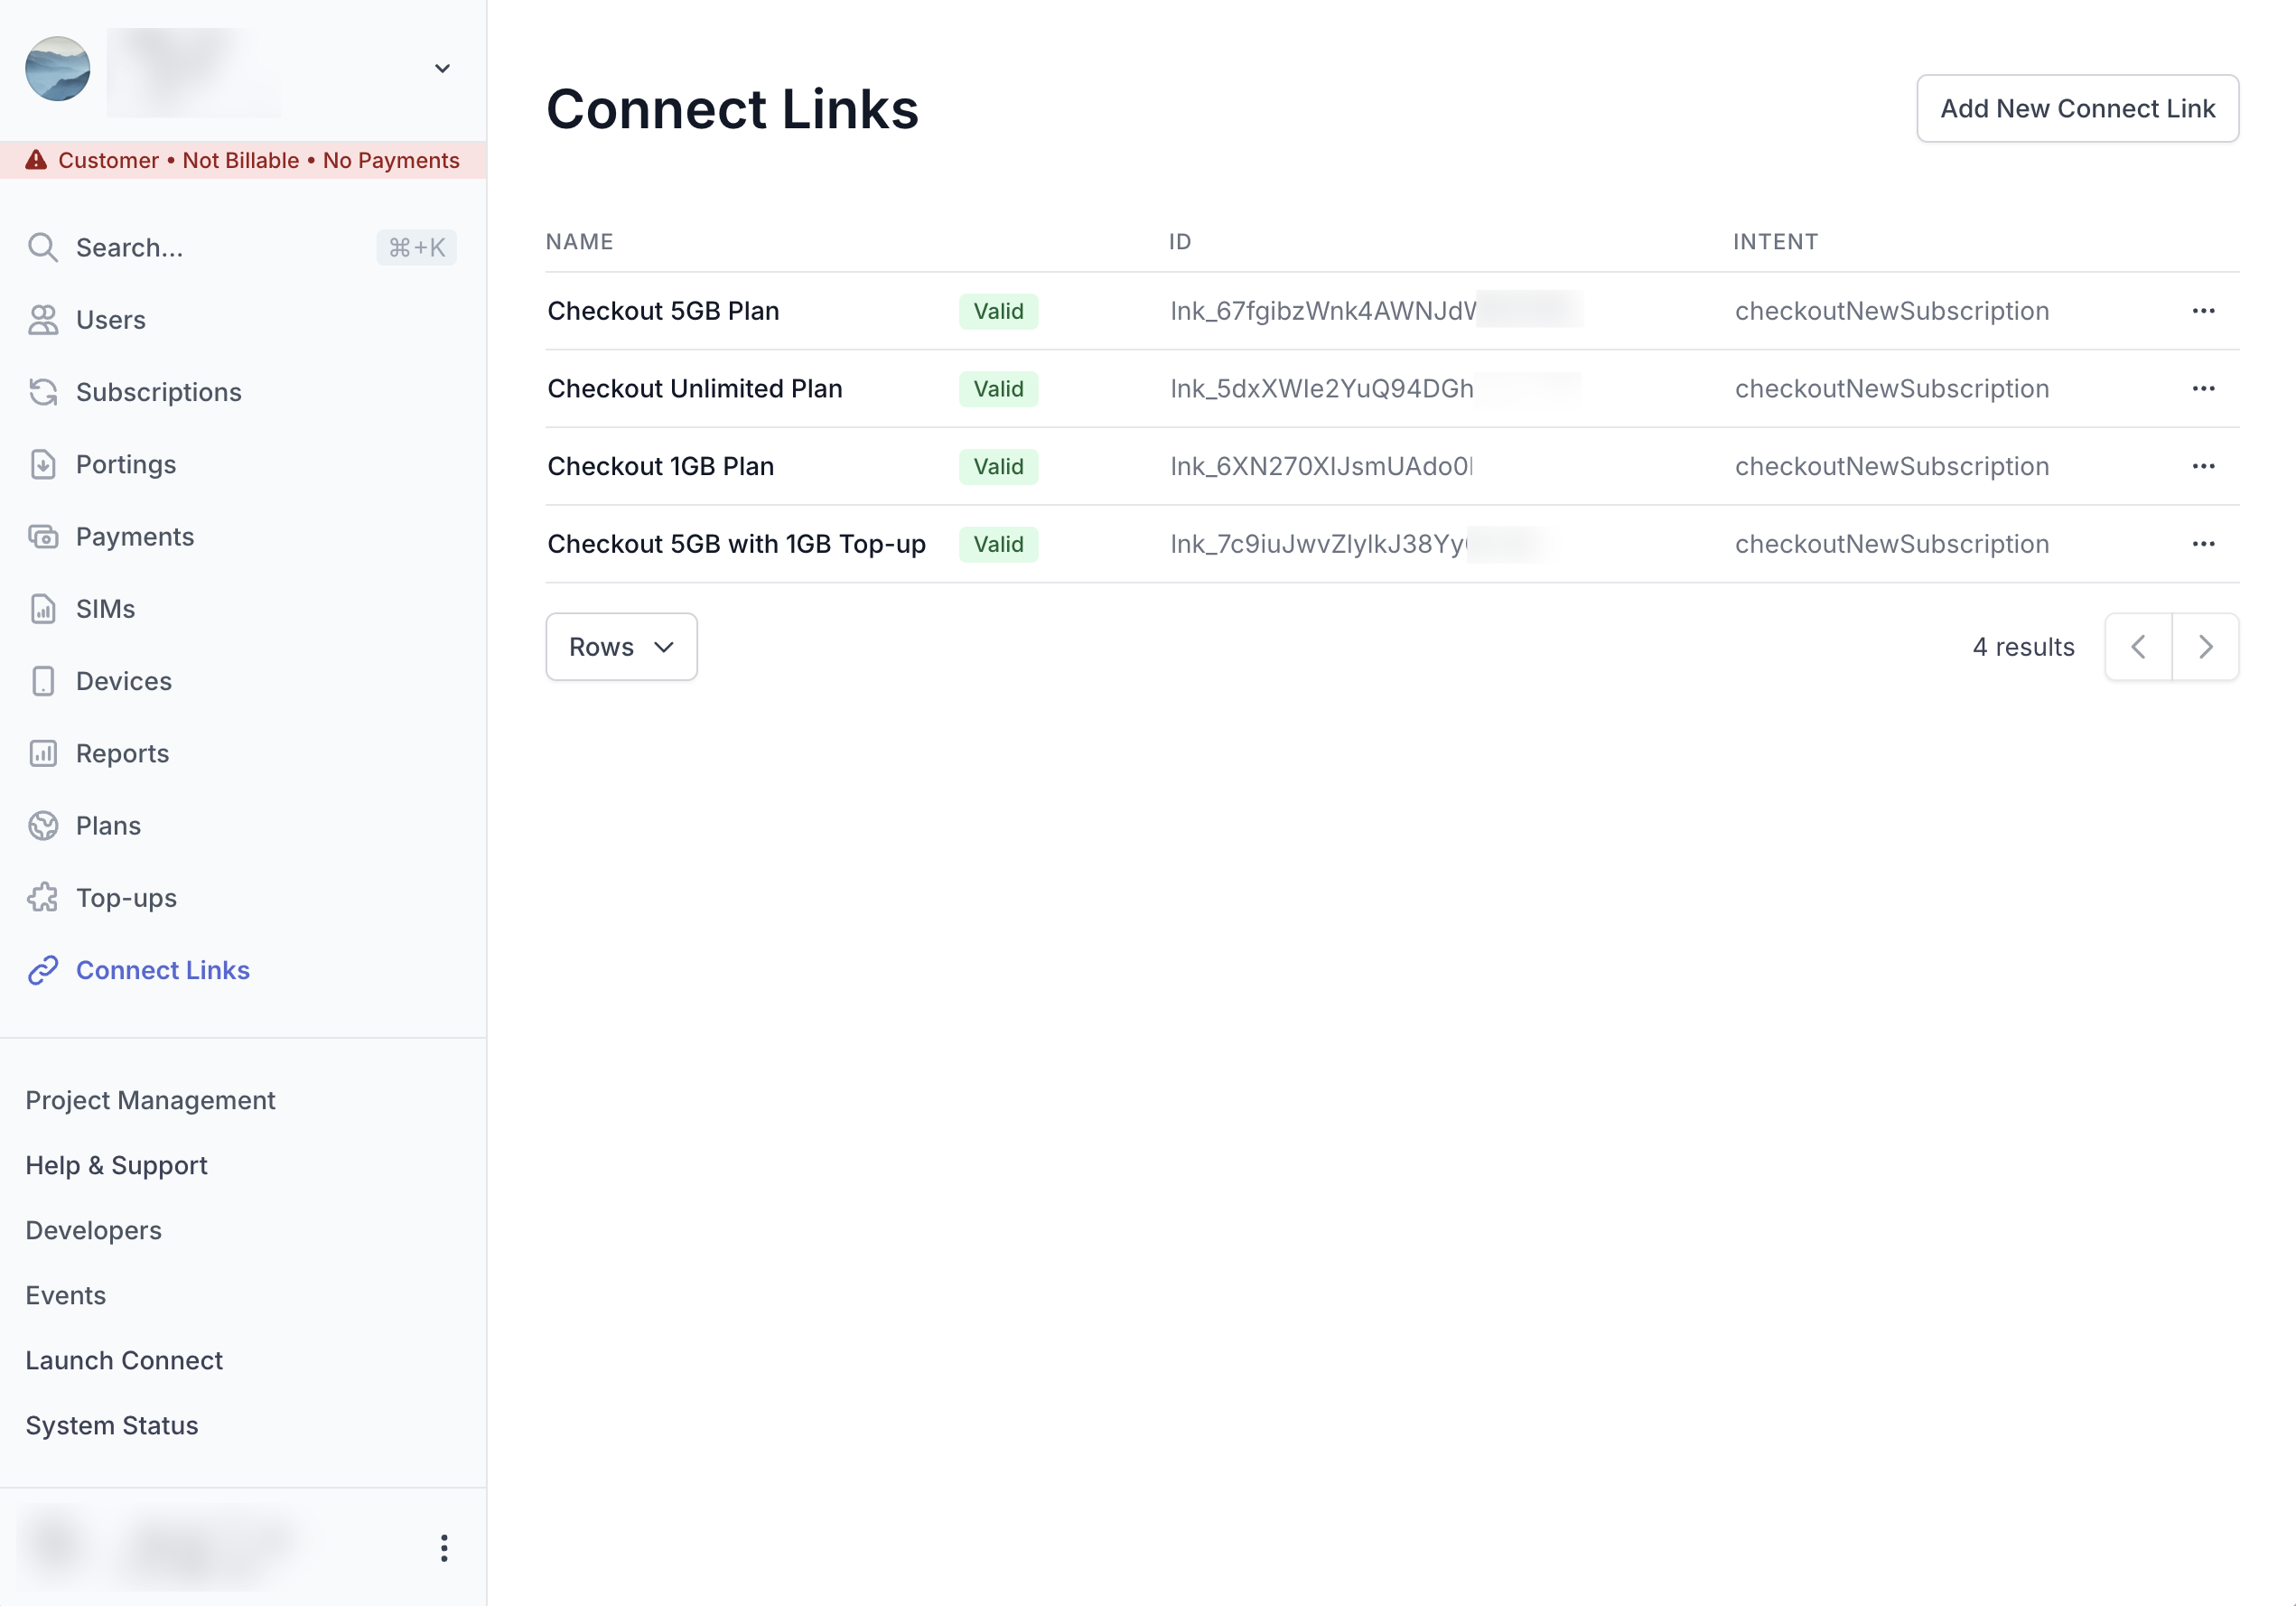
How Connect Link Looks in the Dashboard
The Dashboard features a user-friendly interface that allows you to easily manage your Connect Links. This simplicity makes it easy to keep track of your links and their performance.

Example Use Cases
❗️Since Connect Link is a newer feature, only a limited number of intents are available. "Create New Subscription" is the sole intent offered in the first iteration. Here are some prime usage examples of Connect Link:
Custom Storefront with a Website Builder: A provider could build their storefront and create links for each of the four plans they are selling. They can also make a Link to the Connect Portal for managing subscriptions.
Seasonal Promotions: During events like Black Friday, providers can temporarily apply a voucher to some plans by changing the links and adding a voucher code. After the promotion, they can easily remove the voucher from the link.
Plan Availability Management: If you want to allow only specific plans for upgrades and not for new subscriptions, do not create a Link for those plans.
We hope this guide helps you understand the benefits of Connect Sessions and Connect Link. If you have any questions or need further assistance, please feel free to contact our support team!